Import from WordPress
In this guide we'll go through the import of content present in a WordPress site to a DatoCMS project.
Installation
Install the DatoCMS CLI:
npm install -g @datocms/cli@latestAnd subsequently install the WordPress importer plugin:
$ datocms plugins:install @datocms/cli-plugin-wordpressWhat you will need
To copy your WordPress content to DatoCMS, you will need the following information:
Your WordPress user name and password with admin privileges
Your WordPress site URL
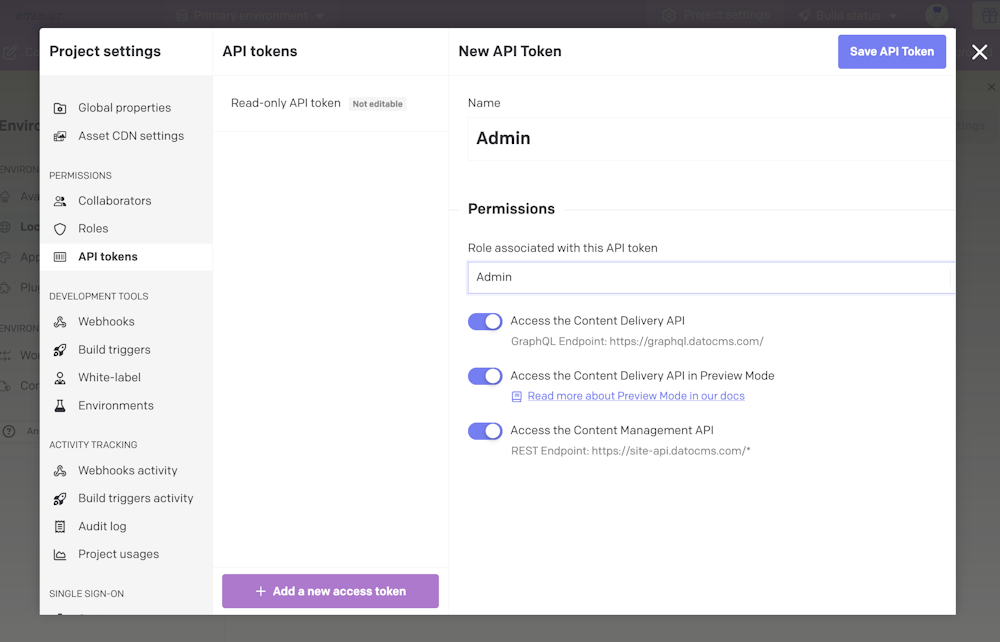
Your DatoCMS full-access API token: first create a new project, then go to Project settings > API tokens, click on "Add a new API token", and choose or create a role with read-write permissions. You can select the default Admin role, or create a more granular one, depending on your needs.

Run the import
To import the posts and pages of your WordPress project into DatoCMS, run the following in the console:
$ datocms wordpress:import \ --ignore-errors \ --wp-url <YOUR_WP_PROJECT_URL> \ --wp-username <YOUR_WP_USERNAME> \ --wp-password <YOUR_WP_PASSWORD> \ --api-token <YOUR_DATOCMS_API_TOKEN>That's it! The importer will create the standard Wordpress models: articles, pages, authors, categories and tags. All the Wordpress media files will be uploaded to your DatoCMS project in the media gallery as well. Hurray!
Known limitations
Our importer only copies pages and posts: custom post types won't be imported;
There are many different plugins to manage localizations in WordPress-land. For now, if you have a multi-lingual website, we’ll currently only import the content created for the main language.
Same thing goes for SEO, sliders and other web elements managed by plugins. They won’t be imported.