Media Area
In the Media Area of your project you can upload, view, edit, and organize all your assets.

Individual assets can be viewed with their information and edited.

Metadata and smart tags
When an image is uploaded, it is analyzed, then a set of metadata is exposed in our media area and via the APIs. If the upload is a picture with EXIF info, we expose that information together with other details, such as dominant colors and a set of machine-learning generated smart tags.
Asset organization
As your collection of assets grows, organization becomes crucial. To help with this, we offer several options.
You can filter assets using any number of fields with various options for each field:

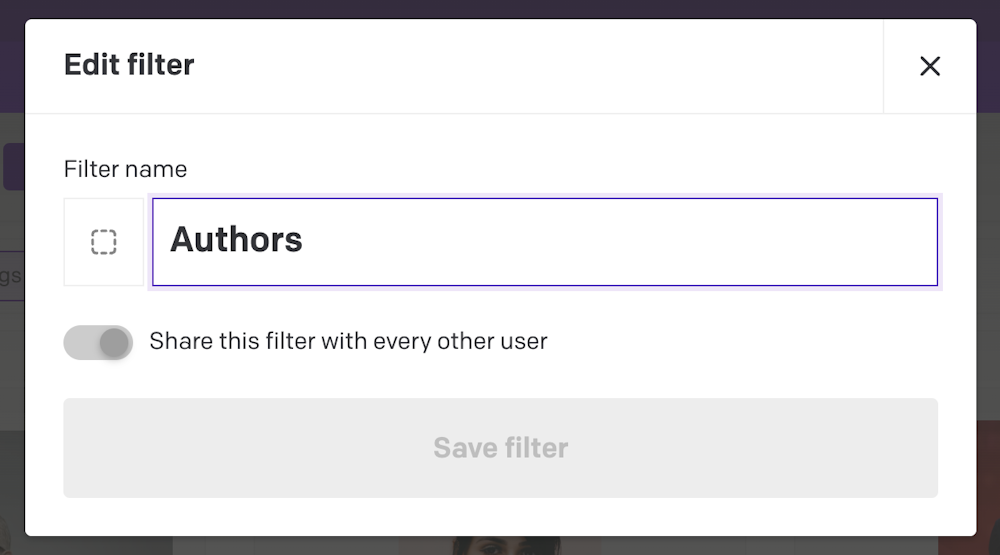
If you have a useful filter that you want to save or share with the rest of the team, you can add it to your "Saved filters":
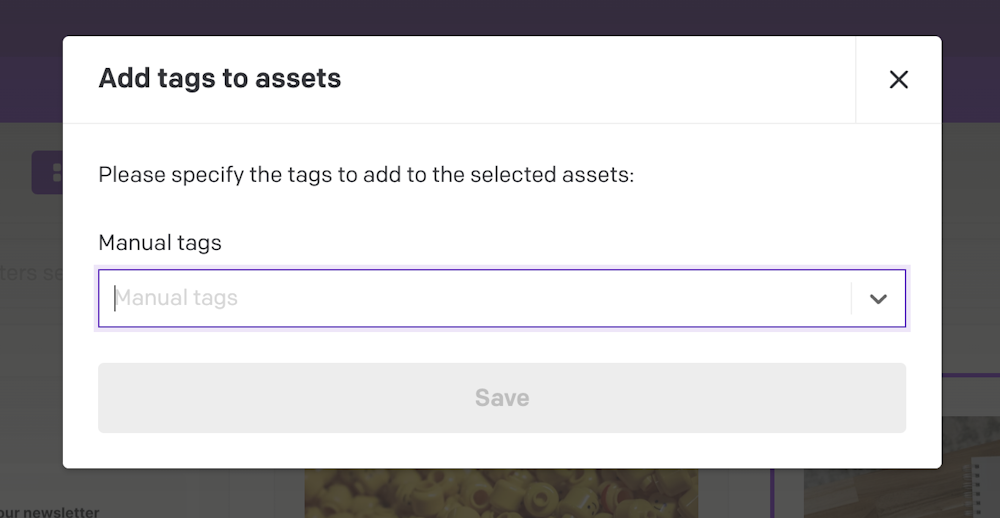
One way to organize assets that we recommend is to combine filters with tags, both manual and smart tags, automatically added on asset upload.
You can efficiently tag assets using the bulk tagging feature:
DatoCMS also has asset collections, in addition to tags. You can create multiple collections, organize them in a tree structure, very much like folders on a classical file system. There are two main rules: each asset can only be assigned to one collection, and you can always view all assets by clicking on "All assets."
To create collections and nested sub-collections, simply utilize the sidebar as you would with content views.
Assets can be assigned to their respective collection or sub-collection using the action bar at the bottom of the screen or via drag and drop.
Finally, you can visualize your assets in various ways (grid, masonry, and table), depending on your use case and asset type. For example, the tabular mode can be very handy for performing operations on multiple assets at once:

Asset management
For each asset, you can specify a set of default metadata such as title and alternate text that can be applied as the default value when nothing else is selected.

For better asset organization you can specify some additional categorization fields, such as notes for colleagues and author/copyright data of the asset:

If you need to add a new revision of an asset, you can simply drag in a new version, and we'll replace the asset in every occurrence:

Localization
When using multiple locales, you can set default metadata on a per-locale basis:

You can then override the default metadata in place when referencing the asset in a record:

Audio player
If you host/produce audio files, you can use the embedded audio player to listen to them:

Image editor
If you need to edit an uploaded image, you can use the built-in powerful editor to crop, rotate, apply predefined color filters, tweak colors, and add basic shapes and text to the image:
Image URL
When an asset is uploaded to your media area, you immediately get access to a direct URL to use it wherever you want:

To understand how that URL is formatted, we first need to understand how the file name is formatted after upload:
Underscores or dashes at the beginning or end of the file name are removed
Character accents are removed
All non-alphanumeric characters, except for underscores "_", are replaced by dashes "-"
If the file has a wrong or invalid extension in its name, it is replaced by the one matching the file type
The URL then is created using the project ID, an upload timestamp, and the newly formatted file name:
https://www.datocms-assets.com/PROJECT_ID/UPLOAD_TIMESTAMP-FORMATED_NAMEVideo editor
If you need to edit an uploaded video, you can use the built-in powerful editor to trim, resize, rotate, apply predefined color filters, tweak colors, and make basic changes to the video:
When serving videos, we recommend using HLS streaming whenever possible. Follow our docs on serving videos through Mux to implement our recommended best practices.
To have an overview on all the things you can do in your media area, check out these video tutorials:


Antivirus Scanning
Every file uploaded to the Media Area is automatically scanned for viruses and malware. Scans run in the background immediately after upload so that editors don't need to do anything, and there's no delay in their workflow.
How it works
When a file is uploaded, a scan is queued automatically. Within seconds, the file is assigned one of the following statuses:
| Status | What it means |
|---|---|
| Clean | No threats detected and the file is served normally. |
| Infected | A threat was detected and the file is automatically quarantined and removed from the CDN. |
| Skipped | The file exceeds the scanner's size or type limits and couldn't be assessed. DatoCMS cannot confirm whether these files are safe. |
| Failed | A transient error occurred. The scan will be retried automatically up to 6 times and if all retries fail, the file remains in a failed state. |
If an asset is replaced with a new version, the scan runs again automatically on the new file.
How infected files are handled
When a threat is detected, DatoCMS automatically:
Removes the file from public storage
Purges it from the CDN cache, and
Keeps the upload record visible in the Media Area, so editors can see it was flagged
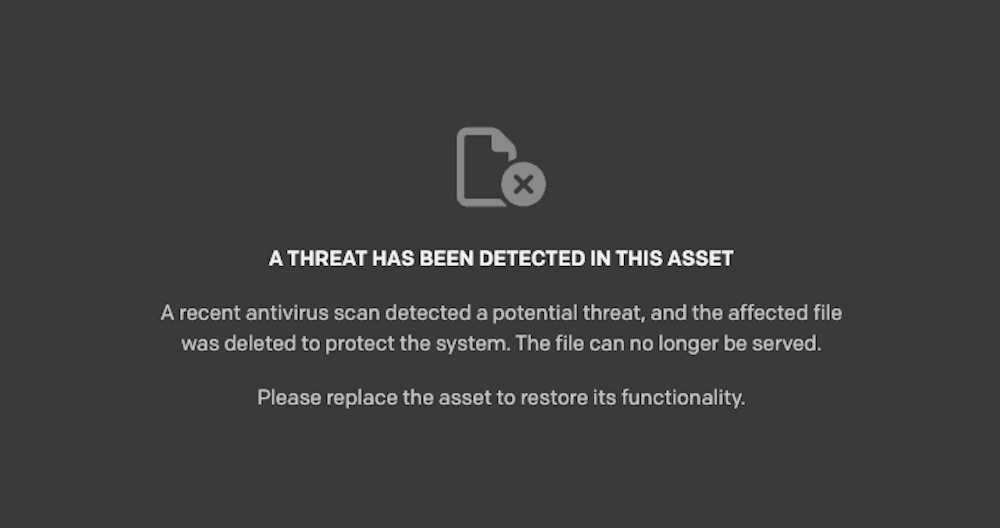
The file URL will no longer serve any content. At this time, there is no way to restore a quarantined file, and editors should replace the asset.
If your project uses a custom storage bucket like S3 or R2, DatoCMS doesn't have permission to delete or move files from your storage. The file will remain accessible from your bucket even after being flagged as infected. The upload record will be marked accordingly, and the warning screen will display the file path so you can remove it manually from your storage provider.
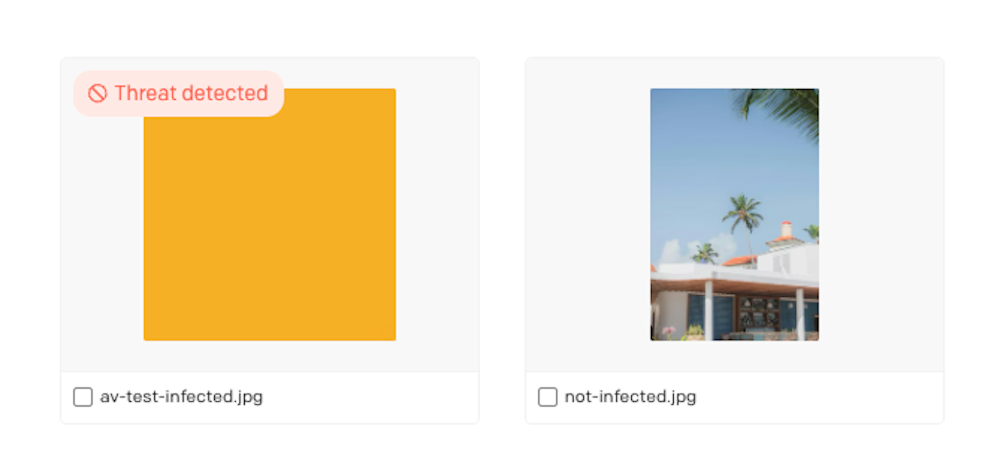
Infected files are surfaced throughout the Media Area:
A "Threat detected" badge appears on the upload card in grid, masonry, and table views. On smaller cards, this collapses to an icon with a tooltip
Opening an infected file replaces the normal preview with a warning screen that explains the situation, shows the specific threat name (useful for investigation), and prompts the editor to replace the asset
For custom storage projects, the warning is adjusted to show the file path and advise manual removal from the bucket
Editors can filter uploads by antivirus status (clean, infected, skipped, failed, pending) directly in the Media Area search. This filter is not available in the Content Delivery API.
Scan results are delivered in real time with the antivirus status in the dashboard updating live without requiring a page refresh, and Webhooks are fired on status changes, so you can build integrations that react to scan results, for example, getting a Slack alert when an infected file is detected in your project.
API Access
The antivirus status is also available on every upload object via the CMA, under a new meta.antivirus field:
"meta": { "antivirus": { "status": "infected", "scanned_at": "2026-03-27T18:51:00Z", "threat_name": "Trojan.GenericKD.12345" }}The status field will be one of clean, infected, skipped, or failed. The threat_name field is only present when a threat has been detected.
Antivirus scan results are preserved when forking environments without any rescanning required.
When duplicating projects, infected files are automatically excluded from the copied project to prevent propagation.