
Intro to the Asset Area
Play video »
Sorry, no results found for "".
In the Media Area of your project you can upload, view, edit, and organize all your assets.

Individual assets can be viewed with their information and edited.

When an image is uploaded, it is analyzed, then a set of metadata is exposed in our media area and via the APIs. If the upload is a picture with EXIF info, we expose that information together with other details, such as dominant colors and a set of machine-learning generated smart tags.
As your collection of assets grows, organization becomes crucial. To help with this, we offer several options.
You can filter assets using any number of fields with various options for each field:

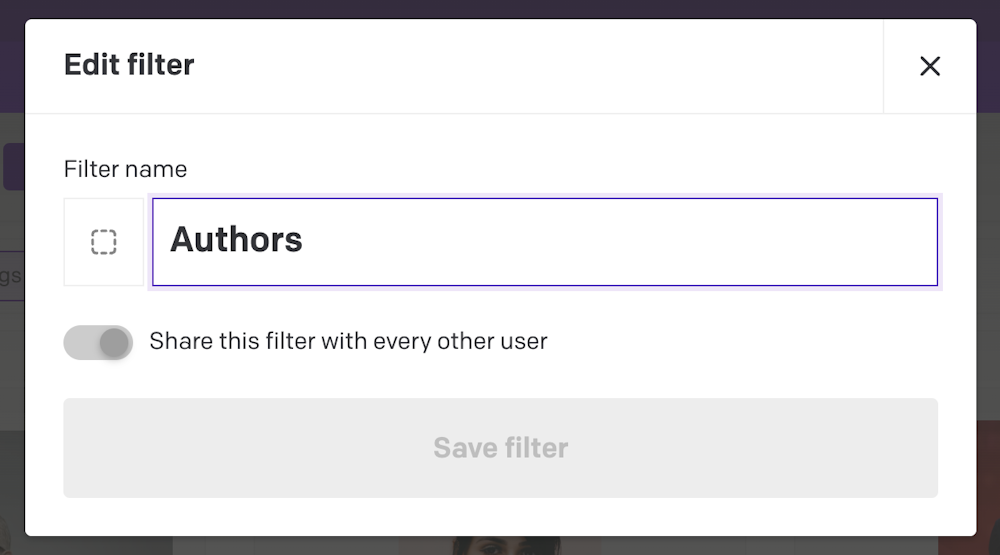
If you have a useful filter that you want to save or share with the rest of the team, you can add it to your "Saved filters":
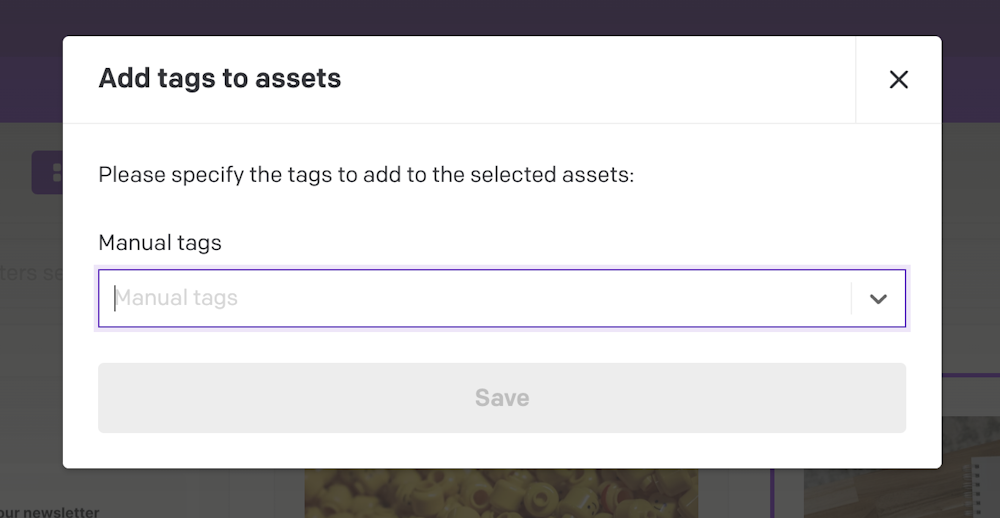
One way to organize assets that we recommend is to combine filters with tags, both manual and smart tags, automatically added on asset upload.
You can efficiently tag assets using the bulk tagging feature:
DatoCMS also has asset collections, in addition to tags. You can create multiple collections, organize them in a tree structure, very much like folders on a classical file system. There are two main rules: each asset can only be assigned to one collection, and you can always view all assets by clicking on "All assets."
To create collections and nested sub-collections, simply utilize the sidebar as you would with content views.
Assets can be assigned to their respective collection or sub-collection using the action bar at the bottom of the screen or via drag and drop.
Finally, you can visualize your assets in various ways (grid, masonry, and table), depending on your use case and asset type. For example, the tabular mode can be very handy for performing operations on multiple assets at once:

For each asset, you can specify a set of default metadata such as title and alternate text that can be applied as the default value when nothing else is selected.

For better asset organization you can specify some additional categorization fields, such as notes for colleagues and author/copyright data of the asset:

If you need to add a new revision of an asset, you can simply drag in a new version, and we'll replace the asset in every occurrence:

When using multiple locales, you can set default metadata on a per-locale basis:

You can then override the default metadata in place when referencing the asset in a record:

If you host/produce audio files, you can use the embedded audio player to listen to them:

If you need to edit an uploaded image, you can use the built-in powerful editor to crop, rotate, apply predefined color filters, tweak colors, and add basic shapes and text to the image:

When an asset is uploaded to your media area, you immediately get access to a direct URL to use it wherever you want:

To understand how that URL is formatted, we first need to understand how the file name is formatted after upload:
Underscores or dashes at the beginning or end of the file name are removed
Character accents are removed
All non-alphanumeric characters, except for underscores "_", are replaced by dashes "-"
If the file has a wrong or invalid extension in its name, it is replaced by the one matching the file type
The URL then is created using the project ID, an upload timestamp, and the newly formatted file name:
https://www.datocms-assets.com/PROJECT_ID/UPLOAD_TIMESTAMP-FORMATED_NAMETo have an overview on all the things you can do in your media area, check out this video tutorials:

