Okta Single Sign-On
Enterprise integrationAutomatically provision and (most importantly) deprovision DatoCMS users using your centralized Okta account


Automatic user provisioning is supported for the DatoCMS application.
This enables Okta to:
Add new users to DatoCMS
Update users’ profile information in DatoCMS
Deactivate users in DatoCMS
Push groups and memberships to DatoCMS
Features
The following provisioning features are supported:
Create User - Creating a new user in Okta and assigning them to the DatoCMS application will create a new user in DatoCMS.
Update User Attributes - Updates to a user in Okta will be pushed to DatoCMS.
Deactivate Users - Deactivating the user or disabling the user's access to DatoCMS within OKTA will deactivate the user in DatoCMS.
Reactivate Users - User accounts can be reactivated from Okta.
Import Users - Users created in DatoCMS can be pulled into Okta and turned into new AppUser objects for matching against existing Okta users.
Import Groups - Groups created in DatoCMS can be pulled into Okta for reference within Okta.
Push Groups - Groups created in Okta can be pushed to DatoCMS. Attributes pushed include name and group members.
Delete Groups - Groups deleted or removed from the DatoCMS application within Okta will be deleted within DatoCMS.
Prerequisites
Single Sign-On is only available for Enterprise plans.
Configuration Steps
Switch your Okta dashboard to Admin mode by clicking the button in the upper right corner:

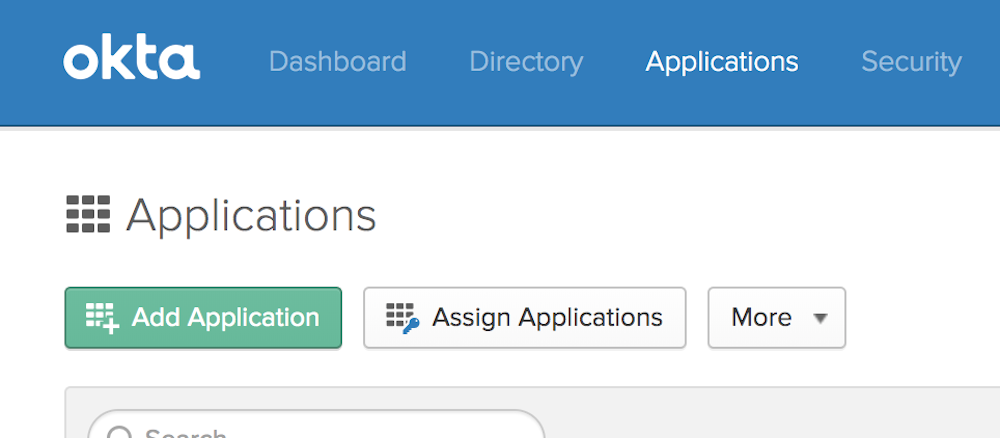
Then select Applications and click Add Application:
On the new page search for DatoCMS and press Add:

A new screen will appear. Give the new app a name and press Next:

Now log in to your DatoCMS project as an administrator, and navigate to Settings > Single Sign-On > Settings, and copy the value of the SAML Token field:

In Okta, scroll down to Advanced Sign-On settings, and paste the value taken from DatoCMS in the previous step inside the Token field:

Now copy the URL in the Identity Provider metadata field...

...and paste it into the DatoCMS Identity Provider SAML Metadata URL field:

Make sure to also specify the default role editors will be assigned (learn more about this field in the Mapping Okta groups to DatoCMS roles chapter):

Press the Save settings button in DatoCMS. Back in Okta, select Email as the Application username format and press Done:

Now enter the Provisioning tab of your newly created DatoCMS application and click the Configure API Integration button:

Now in DatoCMS press the Generate API Token button under the SCIM Settings section:

Copy the newly generated token:

And paste the token inside the API Token field in Okta:
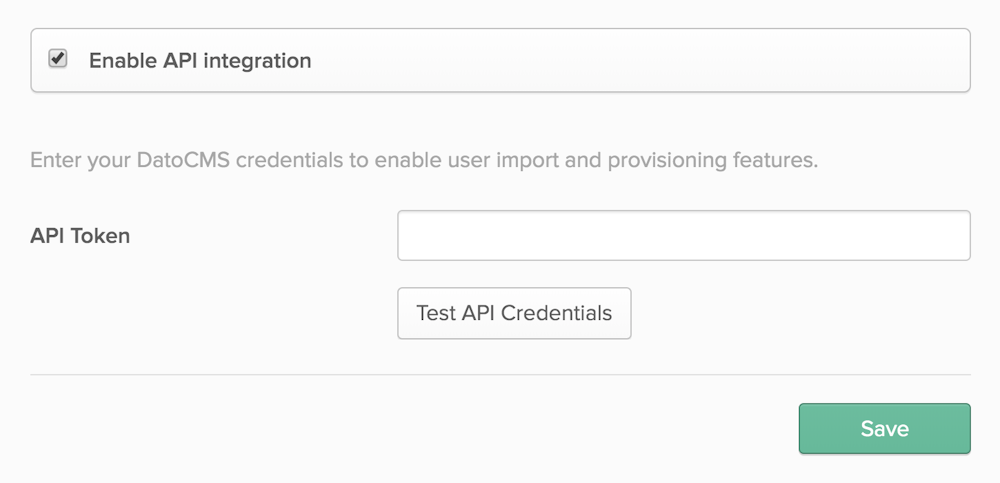
Click the Test API Credentials button and check that your credentials were verified successfully, then press Save to confirm.
Now in the Provisioning > To App section, press the Edit button and:
Enable the Create Users option;
Enable the Update User Attributes option;
Enable the Deactivate Users option;
Press the Save button to confirm:

Importing existing DatoCMS users in Okta
If you want to import existing users into Okta, enter the Provisioned users section in DatoCMS settings, and from there press the Sync with regular users button.

This will convert every DatoCMS collaborator into an SSO User:

Now under the DatoCMS app in Okta, find the Import tab, and click Import Now.

A list of DatoCMS users and possible associations with Okta users will be populated below. Click Confirm Assignments and these users will now be tracked, updated, and de-provisioned by Okta.
Now head over to the Provisioning > To App section of Okta, and under Attribute Mappings press the Force Sync button:

If the integration is working correctly, you should see the imported users with the status Synced:

Provisioning Okta users to DatoCMS
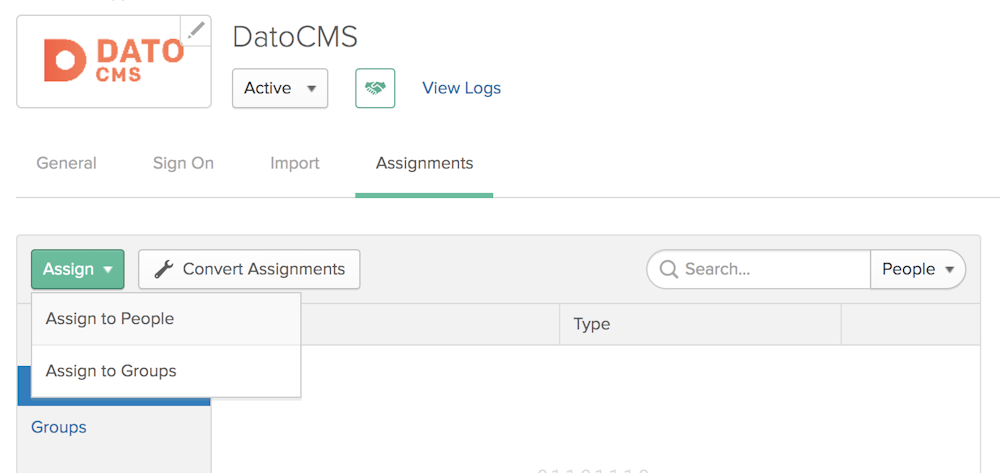
There are various ways to add new users to DatoCMS within Okta. The quickest way to assign multiple users at once is to navigate to the Assignments tab of the Application, and press the Assign > Assign to people button:
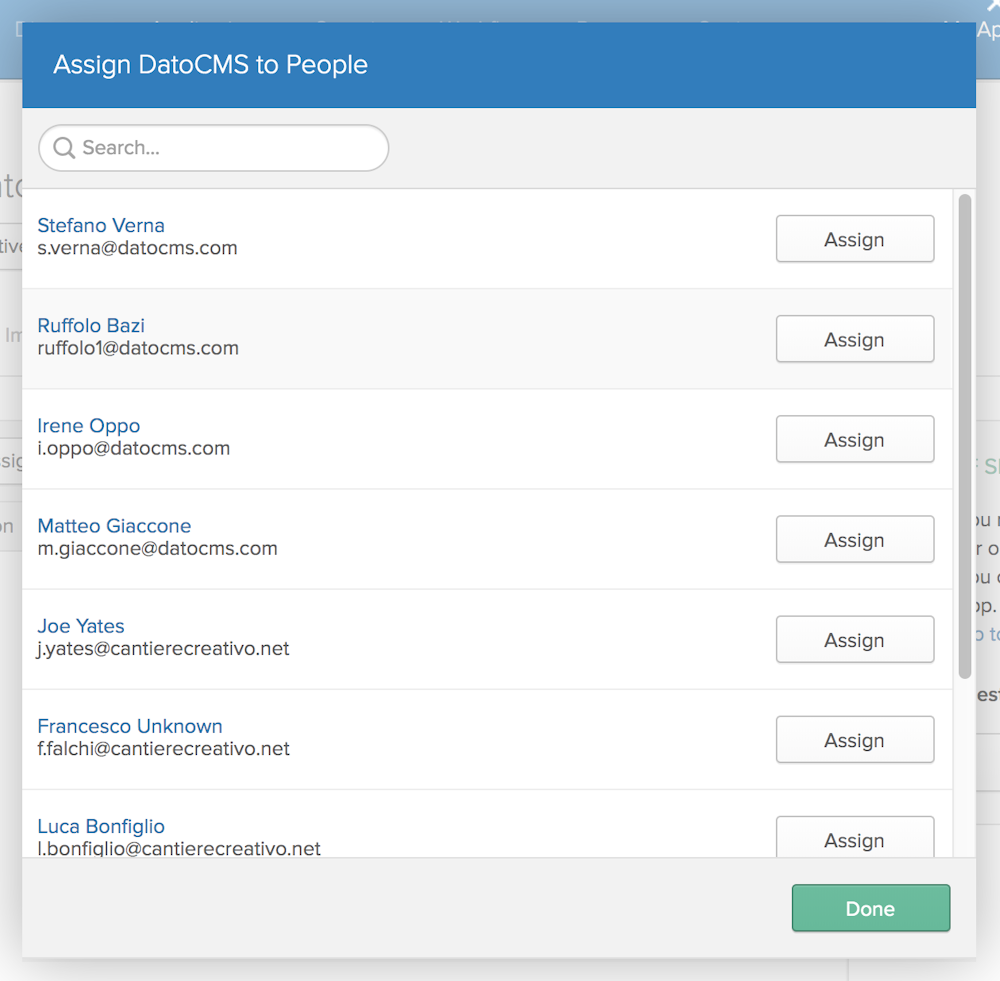
From there, you will be able to assign users with the Assign button:
As soon as you add new users to the DatoCMS application, they will be visible in the Provisioned users section in DatoCMS.
Managing provisioned user roles
Okta has the concept of Groups. With Groups, Okta administrators can create different sets of users based on common themes, giving them different permissions.
You can leverage this feature to assign different DatoCMS roles to provisioned users.
Pushing groups
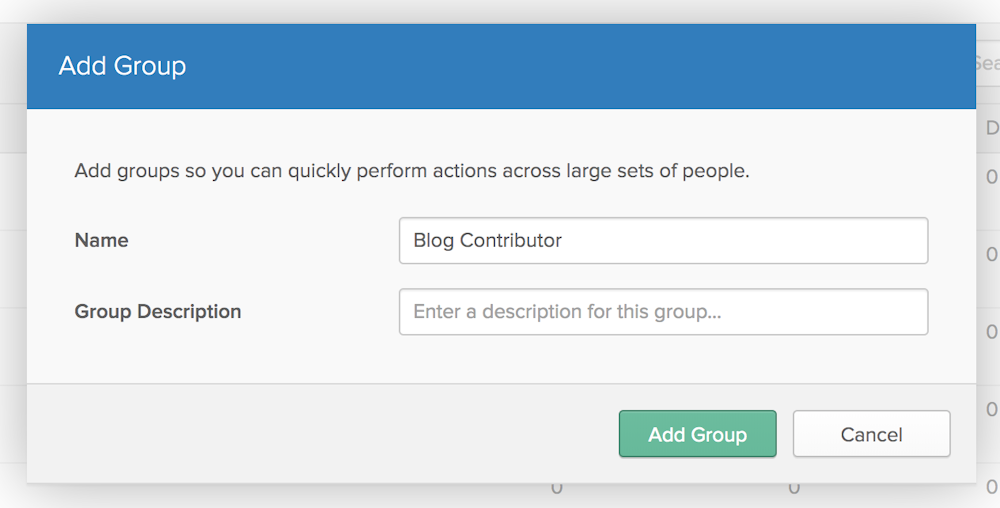
Create a group in Okta for each role available in your DatoCMS project. For example, if a "Blog Contributor" role exists in DatoCMS, create a "Blog Contributor" group in Okta.
Add members to the group in Okta.
Open the newly created group, and press the Manage Apps button. In the modal, assign the group to the DatoCMS application:

Open the DatoCMS Application in Okta, open the Push Groups tab and click on the Push Groups > Find groups by name button:

Enter the first characters of the group name inside the text input, select the group from the dropdown and press Save:

If everything worked correctly, you should now see the same group under the Groups section in DatoCMS:

Mapping Okta groups to DatoCMS roles
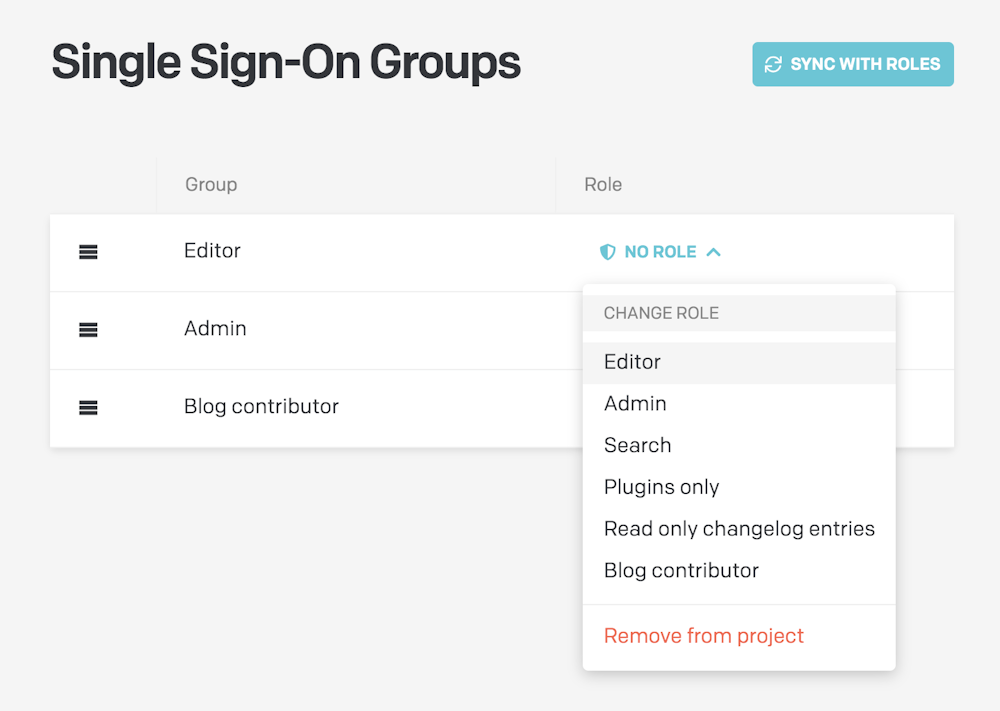
In the Groups section in DatoCMS, you can now assign a specific role to each Group.
For each group, assign the role with the same name:
Once you've configured a role for every group, the following rules will apply:
The group's role will be applied to to every user belonging to it;
In case a user belongs to multiple groups, the first group in the list will be the one to win. You reorder groups with drag&drop to customize their priorities;
In case a user does not belong to any group, the default role specified in the SSO Settings will be used:

Gotchas and Troubleshooting Tips
SAML Single Logout is currently not supported.
Users without First Name or/and Last Name in their DatoCMS profiles will be imported to Okta as "Unknown Unknown".
While it's technically possible to import DatoCMS Groups into Okta, it's not advisable to do so, as groups created in DatoCMS and imported into Okta cannot be deleted or changed in Okta. They must be managed in DatoCMS. It is suggested to create groups in Okta first and then push those groups to DatoCMS via the Push Groups button in Okta as described in the Pushing groups chapter.
DatoCMS application supports Just-in-Time (JIT) provisioning. The SAML assertion will create an SSO user on the fly the first time they try to log in from the identity provider.
At the time of writing there's a known issue in Okta (Jira #OKTA-207372) that in some scenarios prevents Okta's administrators to completely remove users from groups. If a user belongs to just a single group, and you remove this user from the group, the user will be successfully deactivated, but it will still remain in the group. As soon as Okta solves this issues we'll update this documentation page.
For any other issues, please contact our support to get customized help.