Tutorial: how to get real-time draft previews with Next.js and DatoCMS

Together with the launch of the new Real-time Updates API, we are delighted to release today an extension to our Next.js toolkit to add live content authoring previews to any DatoCMS-powered Next.js website.
A video is worth a thousand words, so here I am, writing a draft article, directly on www.datocms.com, with live updates as I save the content:
As you can see, you don't need an additional staging server, as updates happen directly inside the browser.
We have worked hard to produce an extremely ergonomic API for Next.js. We wanted to offer a way to instantly preview draft content, without the need to manually refresh the browser, and make the process so easy to make it a no-brainer for any size websites.
If you're in a hurry, you can try the final result directly by launching one of our two demos. If you are interested in the details, read on!


How does it work?
Data fetching in Next.js
If you've worked with Next.js in the past, you are probably already familiar with the getStaticProps and getServerSideProps functions (we also covered them in detail in a previous article):
export async function getStaticProps(context) { return { props: { foo: "bar" }, // will be passed to the page component as props }}
export default Homepage({ foo }) { return <div>{foo}</div>;}In short, if you export one of those two async functions from your page, Next.js will execute them during the pre-rendering time and hand off their result as props to your component. It is a very simple solution to handle cases where you need to fetch external-data to pre-render your page.
The difference between the two functions lies in the pre-rendering strategy that Next.js will adopt:
in the case of the
getStaticProps, the pre-rendering will occur only once at build time, thus staticizing the result;In the case of the
getServerSideProps, the function will be called by Next.js every time a visitor requests the page so that external data will be fetched on each request.
Of course, we can use these functions to fetch content from DatoCMS using our GraphQL Content Delivery API:
import tiny from 'tiny-json-http';
async function fetchFromDatoCms({ query, variables, preview }) { const endpoint = preview ? `https://graphql.datocms.com/preview` : `https://graphql.datocms.com/`;
const { body } = await tiny.post({ url: endpoint, headers: { authorization: `Bearer ${process.env.NEXT_DATOCMS_API_TOKEN}`, }, data: { query, variables, }, });
return body.data;}
export async function getStaticProps(context) { const graphqlRequest = { query: '{ allBlogPosts { title } }' };
return { props: { data: await fetchFromDatoCms(graphqlRequest) }, }} Next.js Preview mode = getStaticProps with benefits
For the regular visitors of your website, getStaticProps is often the best strategy to implement. Since everything has been calculated at build time, no data fetching is performed during the request, and Next.js serves static HTML pages. Great web vitals guaranteed.
Unfortunately, it's not that ideal when you’re writing a draft on DatoCMS, and you'd like to preview the non-published version of your content. In such cases, getServerSideProps would be the best strategy so that for each request, fresh data gets fetched.
To solve precisely this problem, Next.js has a nifty feature called Preview Mode. You can set up an API route to make content editors authenticate, and from that moment, only for their requests, Next.js will switch pre-rendering strategy and start calling getStaticProps functions for every request.
You can recognize when Preview Mode is active, and the function gets called for every request, checking the context.preview argument. We can use it to switch the behaviour of our function so that instead of fetching data from the published API endpoint, we use the preview endpoint (just one line change!):
export async function getStaticProps(context) {  const graphqlRequest = {    query: '{ allBlogPosts { title } }',    preview: context.preview,  };
  return {    props: { data: await fetchFromDatoCms(graphqlRequest) },  }}
Fetching changes in realtime
This is already great: now, we can preview the content's drafts on our production site! But to see the changes, you need to manually refresh the page, which is a tedious extra step when you are in a creative flow, and you find yourself iterating very quickly on changes to the content.
Also, if there are other editors making changes besides you, you don't know exactly when you should refresh the page, so you might miss some significant changes.
Our new Real-time Updates API is the missing piece of technology, which allows us to go one step further, eliminating the need for manual refresh. By taking advantage of this API, content changes are instantly pushed to browsers using an always open SSE (Server-Sent Events) channel between the page and DatoCMS.
Our NPM react-datocms package offers a React hook called useQuerySubscription, which takes care of opening this communication channel. To make it work, we need to pass some arguments to it, namely:
query: the GraphQL query for which we want to get real-time updatestoken: the API token to usepreview: the endpoint to contact (published vs. draft content)
import { useQuerySubscription } from 'react-datocms';
const { data, status, error } = useSubscriptionQuery({ query, token, preview });
With this information, the hook will establish the connection (status: connecting), and once obtained (status: connected) it will return in data the result always updated for the query. If we have it available, we can also pass an initialData parameter to the hook so that during the connection phase, we can already show something to the user.
Now, with this information at our disposal, let's see how we can integrate this hook into a Next page:
export async function getStaticProps(context) { const graphqlRequest = { query: '{ allBlogPosts { title } }', preview: context.preview, };
return { props: { subscription: context.preview ? { ...graphqlRequest, initialData: await fetchFromDatoCms(graphqlRequest), token: process.env.NEXT_DATOCMS_API_TOKEN, } : { enabled: false, initialData: await fetchFromDatoCms(graphqlRequest), }, }, };}
export default function Home({ subscription }) { const { data, error, status } = useQuerySubscription(subscription);
const statusMessage = { connecting: 'Connecting to DatoCMS...', connected: 'Connected to DatoCMS, receiving live updates!', closed: 'Connection closed', };
return ( <div> <p>Connection status: {statusMessage[status]}</p> {error && ( <div> <h1>Error: {error.code}</h1> <div>{error.message}</div> {error.response && ( <pre>{JSON.stringify(error.response, null, 2)}</pre> )} </div> )} {data && ( <div>{JSON.stringify(data, null, 2)}</div> )} </div> );}Let's try to understand step by step what this code does and how it differs from the last example:
the
getStaticProps, instead of handing off to the component a prop calleddatacontaining only the query result, declares asubscriptionprop, which represents a set of arguments compatible with theuseQuerySubscriptionhook;the
subscriptionarguments differ depending on whether we are in Preview Mode or not;in case Preview Mode is active, then we are in front of an authenticated user, so we set
previewto true and pass to the component the private token to make calls to the preview endpoint;in case Preview Mode is not active, we tell the hook not to make any real-time connection with the parameter
enabledset to false;In both cases, we pass
initialDatawith the result of the query made on server side.
We can now refactor the code to extract the parts that will be common to all pages of our site Next.js, dramatically reducing the code to write:
export async function getStaticProps(context) { return { props: { subscription: await createSubscription(context, { query: '{ allBlogPosts { title } }', }), }, };}
export default function Home({ subscription }) { const { data, error, status } = useQuerySubscription(subscription);
return ( <div> <ConnectionStatus status={status} /> <ConnectionError error={error} /> {JSON.stringify(data, null, 2)} </div> );}The Next.js toolkit offers a lot more!
This is just one of the great features that the react-datocms package offers.
With the same ease of use and care for Next.js ergonomics, you can use an <Image /> component designed to work seamlessly with DatoCMS's responsiveImage GraphQL query that greatly optimizes image loading for your sites.
Next.js released its optimized Image component a few weeks ago, but we recommend to continue to use ours because:
it allows you to use either blur-up or background color techniques to show a preview of the image while it loads;
it automatically centers the image on the focal point specified on the CMS side.
Here's a preview of it:
Similarly to images, react-datocms also offers a renderMetaTags helper that you can use together with DatoCMS' [favicon and SEO meta tags] GraphQL queries also to make meta tags instantly editable and previewable:
import { renderMetaTags } from "react-datocms";
export default function Home({ subscription }) { const { data, error, status } = useQuerySubscription(subscription);
return ( <div> <Head>{renderMetaTags(data.blog.seo.concat(data.site.favicon))}</Head> {/* ... */} </div> );}Wrapping up
This has been a long tutorial, but I hope I've managed to make you understand how powerful and productive the DatoCMS + Next.js combination can be.
Vercel itself, for its recent Next.js Conf, has used DatoCMS for the content and meta-information part, and I think this is the biggest recognition you could want from the creators of Next.js:
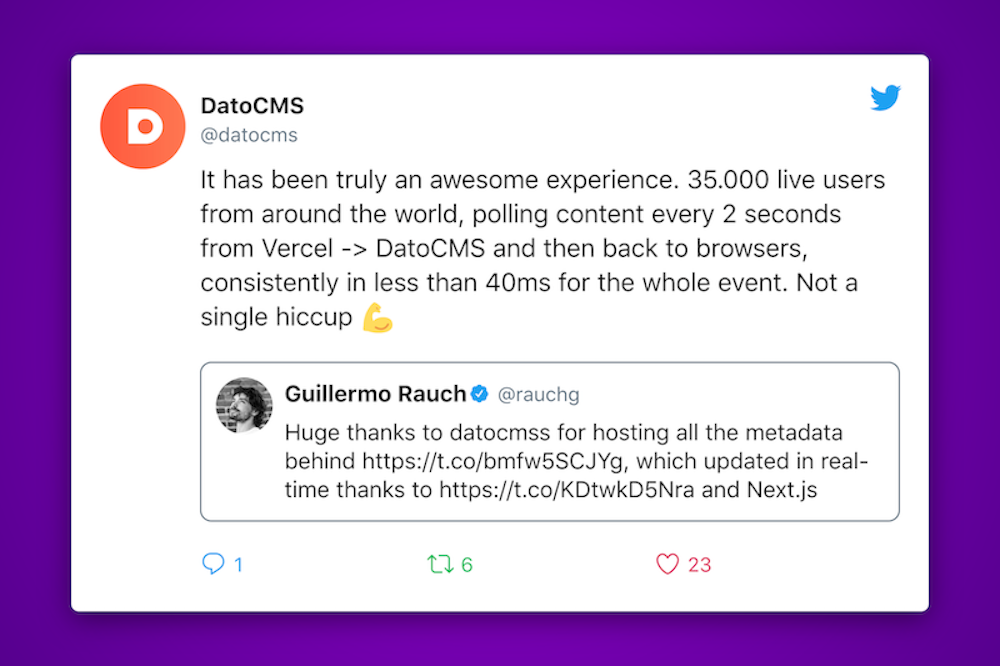
You can read all about the integration between DatoCMS and Next.js in our specific integration guide.
Have fun, good previews, and happy coding!

